The aim of this book is explaining that how the joint tester is used. Also this book includes safety rules which should be follow up during the operation. However, the end user should read and understand the PlugCo Safety Manuel before operate the Joint Tester.
What is the Joint Tester?
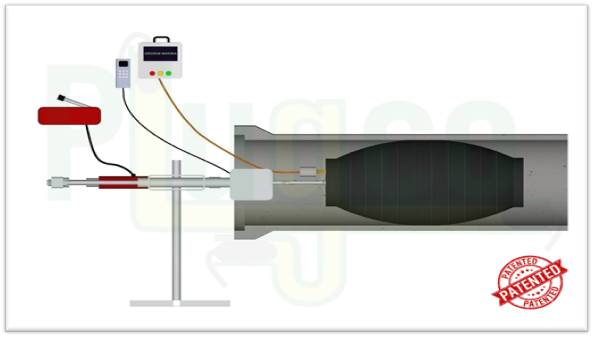
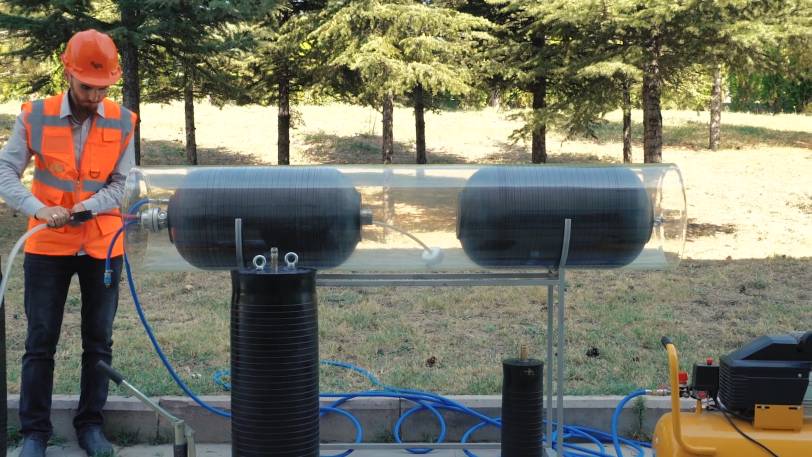
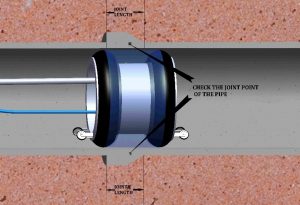
Joint Tester is used for testing the joint point of the two pipe. Regular pipe test plugs are used as joint tester instead of JT but consumption water of that way is more than the JT applications. So the JT is preferred instead of regular pipe test plugs.
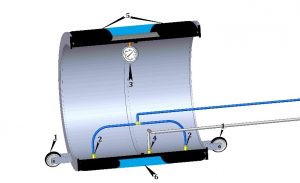
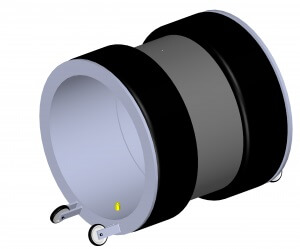
- Wheels (Allow transport / move the JT)
- Air Filling Point(Allow to inflated the JT)
- Pressure Gauge (Observe the test pressure inside the pipe)
- Air/Water Filling Point (Filling air or water as per test type. After filling, allow to observe test pressure outside of the pipe by connecting pressure gauge.)
- Inflatable Parts (Allow to seal the test area)
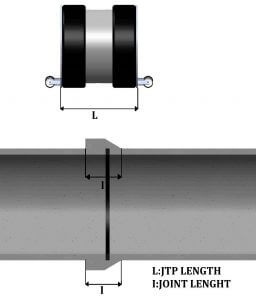
- Test Area (Covers joint length)
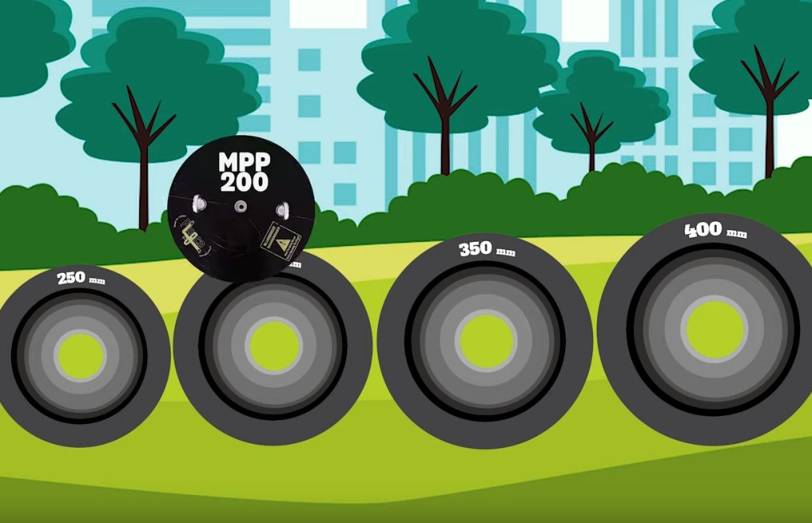
How to choose the correct Joint Tester?
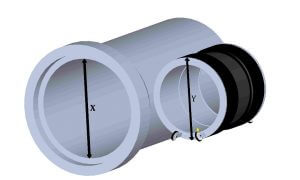
- Measure the internal diameter of the pipe and select matched size/model of the JT.
- Measure the joint length and select the suitable JT length. JT Length (L) = Joint Length (l) + 300 mm
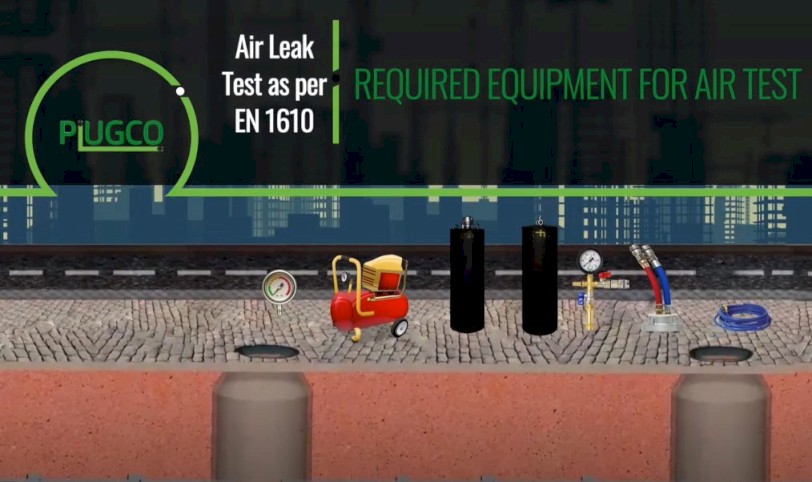
- Determine the test method. Is it air leak test or water leak test?
- Check the required test pressure as per project standard and select the suitable operation pressure (working pressure) in Plugco Catalog.
Using the Joint Tester (JT)
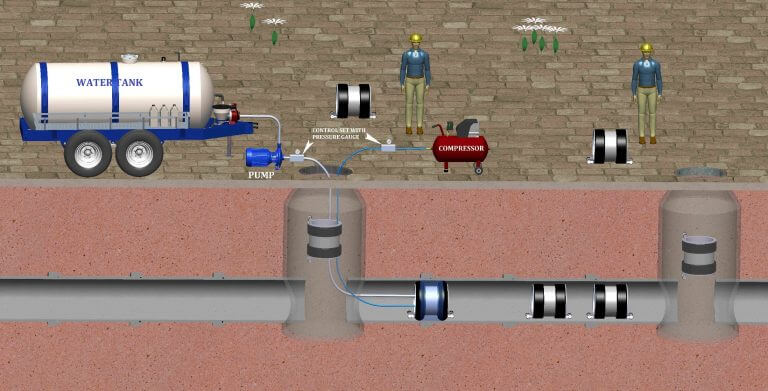
Application the Joint Tester (JT)
Step 1: Before using the jt
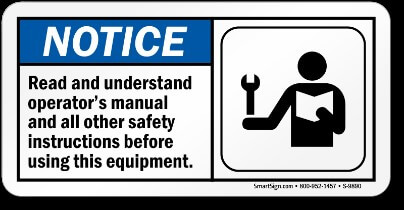
1.1. Read the Plugco Safety Manuel.

1.2. Wear the personal protective equipment such as shoes with steel nose, glass, glove…..
Follow safety rules of international and local authorities!
1.3. Inspect the JT and all accessories for surface tears, cuts or any other damage. Inspect the JT whether there are tears, cuts, cracks or another damage, or not by using soapy water. The leaks will cause the soap bubbles.
Warning! Never clean with solvents, hydrocarbons or other aggressive agents; the plug can be damaged or even destroyed.
Size of the pipe and JT should be matched
1.4 Choose the proper size of the plug. Be sure that the diameter of plug. Select a JT that is manufactured for the actual size, pressure, temperature, and chemical requirements suits for your pipeline size and application.
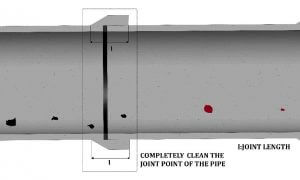
1.5. Thoroughly clean the pipeline, especially joint points before insertion of the JT. Remove all objects and sharp edges in the pipeline.
1.6. Check the length of air hose and water hoses. Make sure that they are not short and enough long to reach test location.
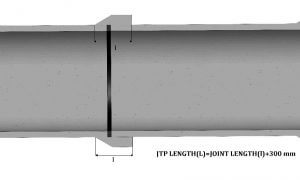
1.7. Be sure that length of JT is sufficient to perform the test. Joint lengths are variable as per joint length. JT Length(L)=Joint Length(l)+300 mm
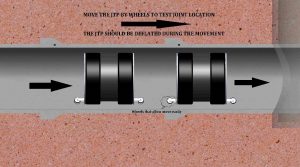
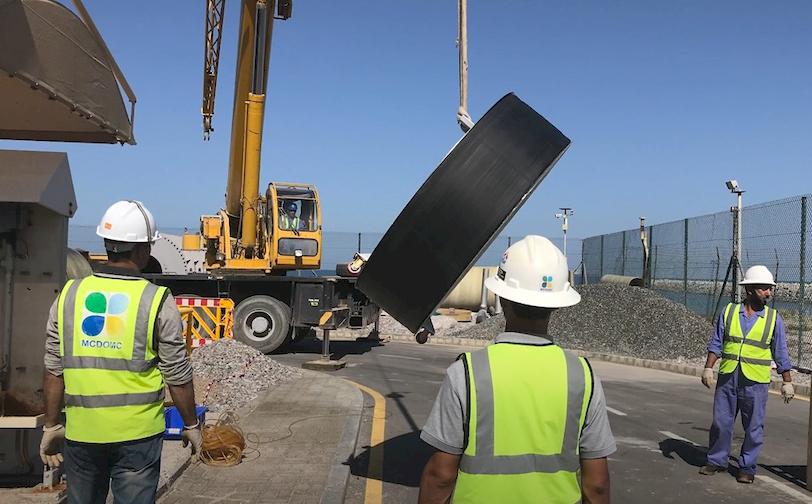
1.8. Move the JT pipeline where you want to test. JT have the wheels that allow to make easy transportation through the pipeline. JT should be deflated during transportation.
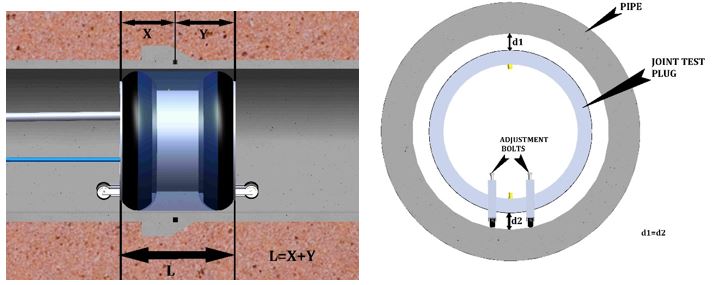
1.9. Centralize the JT at the joint of two pipe with adjustment bolts.
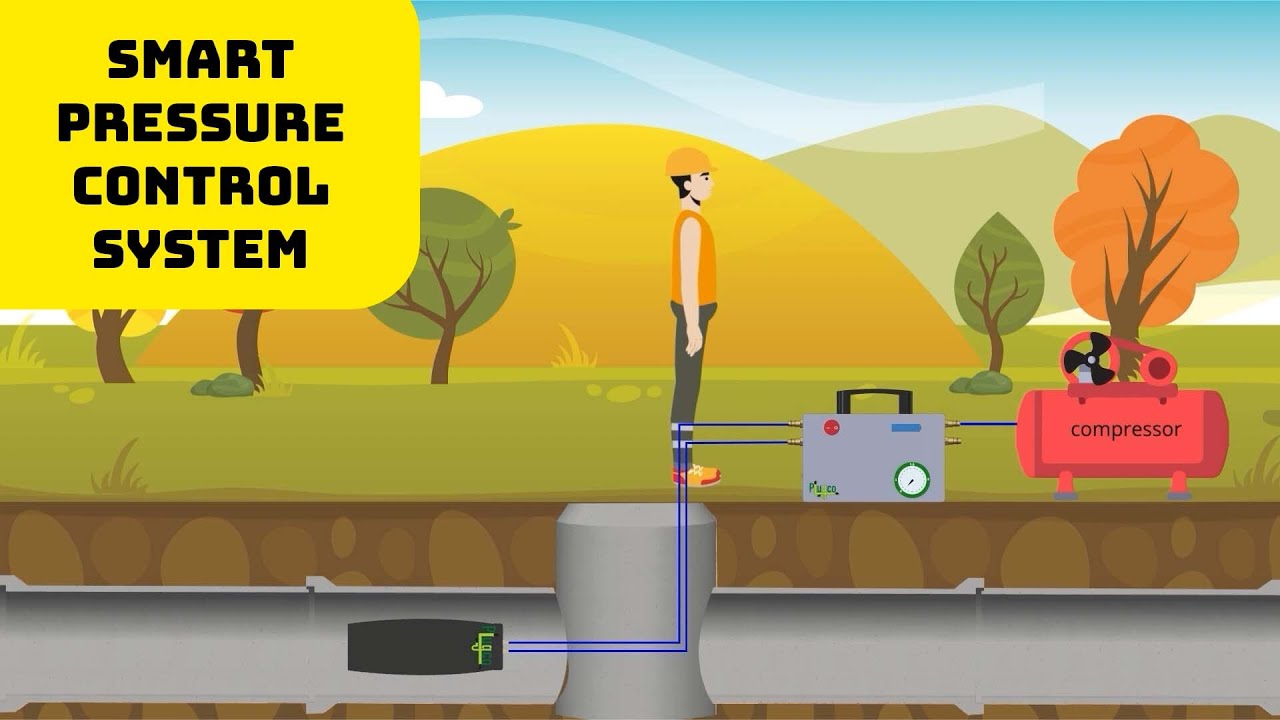
1.10 Plug the air hose to the air jack. Make sure that there is no leakage and damage on the air jack and air hoses.
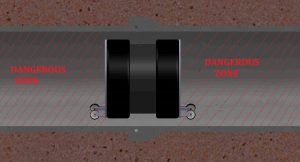
1.11. Before filling the air into JT, make sure that you are out of dangerous zone.
Warning! Never enter the Dangerous Zone while the JT under pressure.
Step 2: Operation of the JT
2.1 Fill the air into JT until 1 bar. Check pressure from the control device. If pressure not drop (there is no leakage), go on to increase the pressure until 2,5 Bar. During the filling air, follow the pressure gauge. Do not exceed the max. allowed inflation pressure which stated on JT, usually 2,5 Bar.
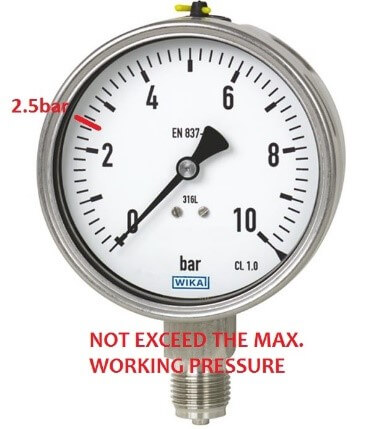
Use calibrated pressure gauge
2.2 Connect the pressure control set to hose and open the valve. The air or water will fill to test area.
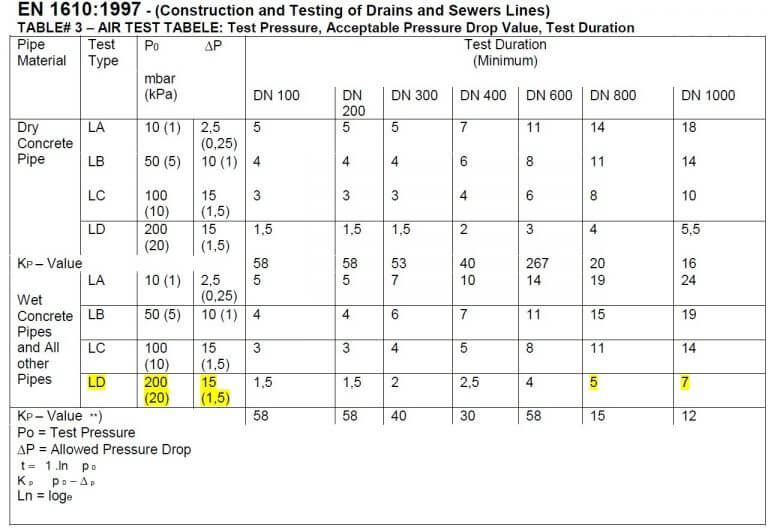
2.3 Observe rise of pressure from the manometer. When the pressure is reached the 0,2 bar for air or 0,5 bar for water, close the filling valve, as per EN 1610.
2.4 Remove pressure control set and connect the pressure gauge to monitor the pressure during test period.
2.5. Wait the time which is stated at the EN 1610 (table-3) and then check the point for leakage. For example, 5 minutes for DN800 and 7minutes for DN1000.
2.6. After checking the joint of the pipeline, if there is no leakage and no pressure drop, move to the next joint point which will be checked.
Step 3: Storage
3.1 After finish the testing of all joint point, remove the JT from manhole.
3.2 Thoroughly clean the inflatable parts of JT with water or detergent and wait until dry.
3.3 Store the JT at room temperature in a dark store.
Please Consult to Plugco for questions.
Thank you for choosing us…
Bahcelievler Mah. Dumlupinar 5. Sok No: 2/2, Corum, Turkey