Deflating pipe plugs is a critical step to guarantee the safety of both personnel and pipeline after completing the maintenance or test process. So, for a smooth and hazard-free application, make sure to follow this step-by-step guide:
Step1: Prepare the Work Zone
Before starting the pipe plug deflation process, make sure that the danger zone is free of personnel and/or equipment so that in case of any unexpected plug burst, no damage will result.
Step2: Release the Back Pressure in the Pipeline:
Before deflating the pipe plug, make sure to release all the back pressure that can push the pipe plug and prevent it from sliding, which can lead to its burst.
Step3: Relieve the Inflation Pressure:
Slowly open the air release valve available on the Air Control Device of PlugCo to gradually release the air inside the plug. This prevents sudden pressure drops that could cause the plug to dislodge or cause injury.
Step4: Pull the Pipe Plug out of the pipe:
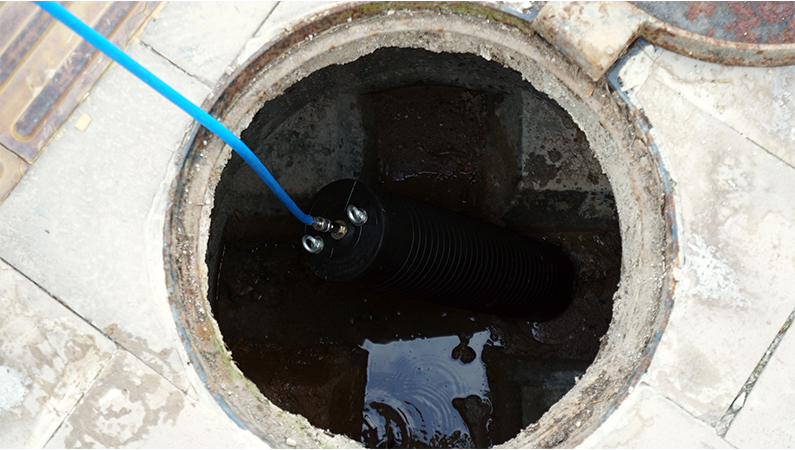
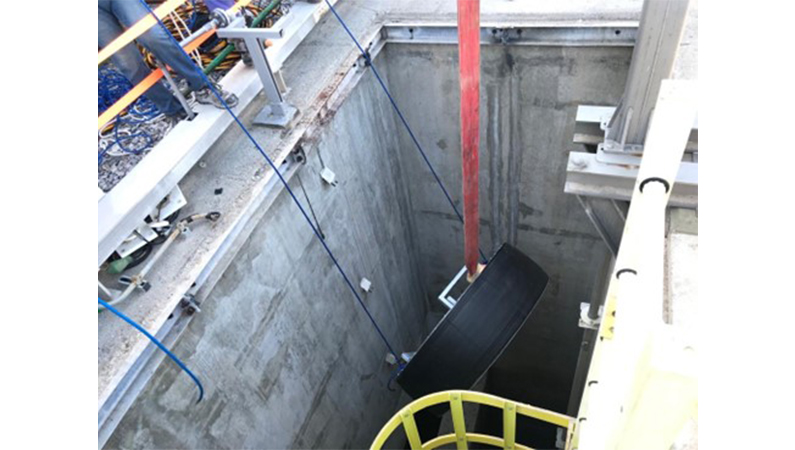
Use the hooks to attach a rope or chain to pull out the plug from inside the pipeline. Never use the air hose to transport the plug.
Step5: Inspect the Plug and Pipe:
After removing the plug, inspect the plug well for any signs of damage, or deformation that may affect the future use.
Step6: Clean and Store Properly
Clean the pipe plug by following PlugCo’s User Manual to remove any residues or contaminants. Store it in a dry, cool place away from direct sunlight to maintain its durability, as stated in the following article: Proper Storage of Inflatable Pipe Plugs: Why It Matters?
By following these steps and respecting the instructions stated by PlugCo team in both User Manual and Safety Instructions Manual, you minimize the damage risks and prolong the lifespan of your pipe plugs, ensuring safety and efficiency in all your pipeline maintenance works. Never forget, rushing the deflation process or neglecting safety precautions can lead to accidents or equipment failure — always take your time and prioritize safety.