Pipe plugs and pipe test plugs are essential tools for conducting tightness tests on newly installed or rehabilitated sewer and drain pipelines. The European Standard EN 1610 outlines the correct procedures for these tests to ensure reliability and safety.
What Is EN 1610?
EN 1610 is a European standard that outlines the requirements and methods for the construction, testing, and inspection of pipelines for drainage and sewer systems. Understanding EN 1610 is essential to perform a leakage test of gravity pipeline.
The leakage test can be conducted by using either water or air, and can be performed for an entire pipeline, Joints only, or Manholes and chambers.
What Equipment Is Needed for Testing?
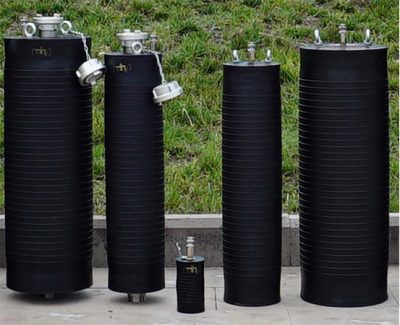
1. Pipe Test Plugs and/or Sealing Plugs
These plugs are used to seal off sections of pipe for testing. Choose the right size and type based on the pipe diameter, material, and pressure involved. PlugCo offers a range of plugs suitable for EN 1610 tests.
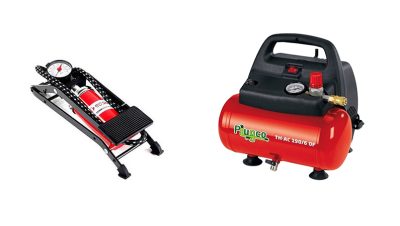
2. Inflation Source
An air compressor or hand pump (for small plugs) is required.
3. Testing Media Source
An air compressor (for air testing) or water tank/pump (for water testing) is required.
4. Control & Monitoring Devices
- Air Control Device for monitoring the inflation pressure.
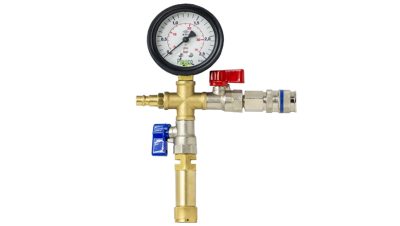
- Air Test Adaptor for monitoring air test pressure (air leak test).
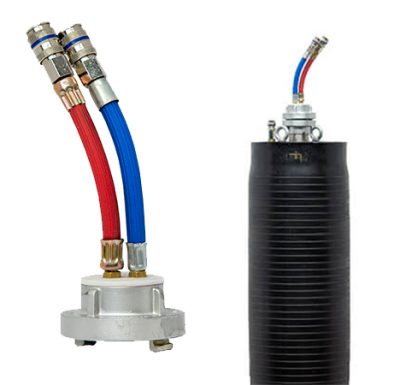
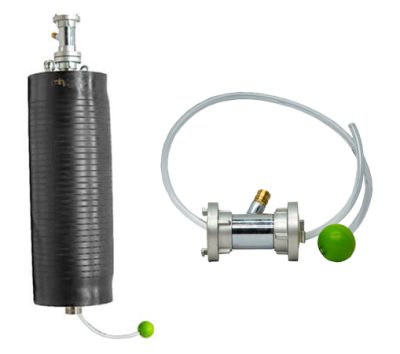
- Air Discharge Adaptor for discharging the air in the test area (water leak test) and for monitoring the test pressure.
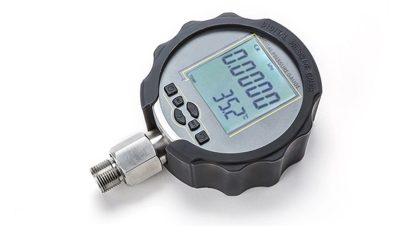
- Digital Manometer can be needed especially for air tests.
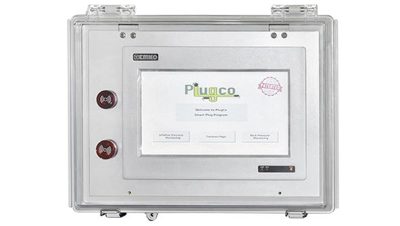
- Optional: Alarm system for plug slippage or burst prevention.
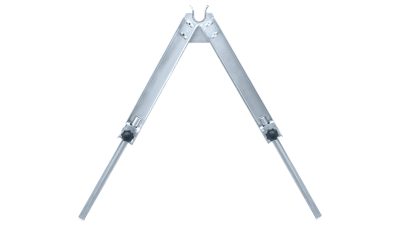
- Centralizer to center the plug within the pipe.
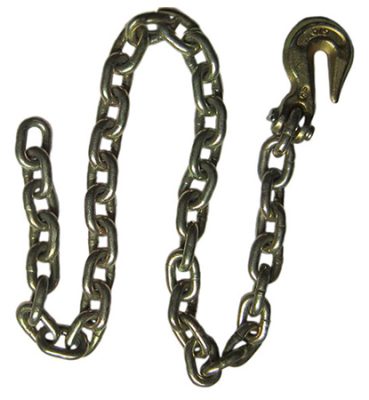
- Ropes or chains to install and remove the plugs.
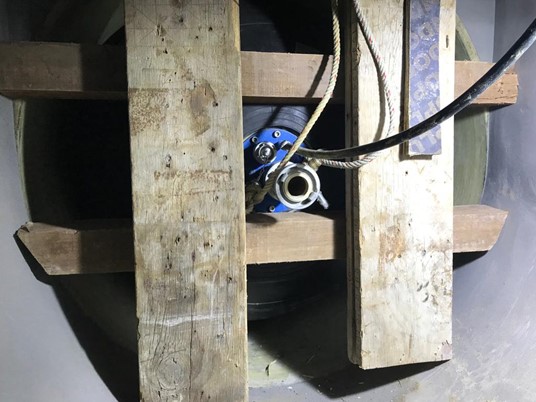
- Bracing or support to prevent plug sliding due to back-pressure force
5. Pipe Cleaning Tools
Clean well the pipe before testing to ensure proper sealing and avoid false results.
Types of Tightness Tests per EN 1610
1. Air Test (Low-Pressure)
- It is Common for small diameter pipes (DN ≤ 500 mm).
- Pressure level: 100 to 200 mbar.
- Duration: it is specified in EN 1610 based on pipe length and material.
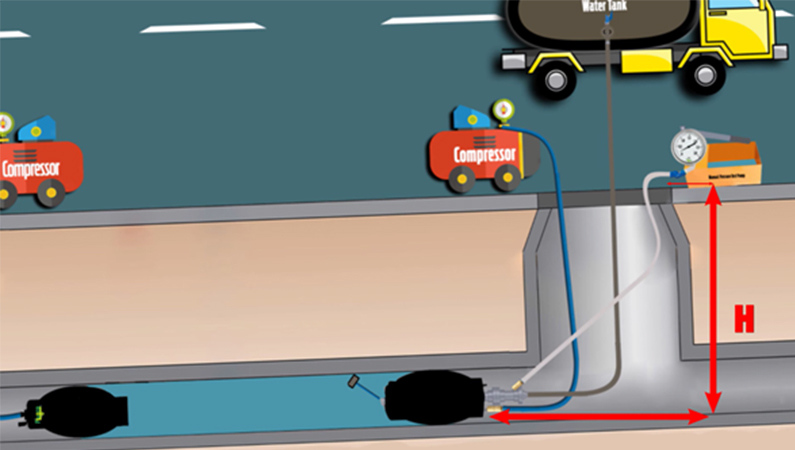
2. Water Test
- It is more suitable for larger pipes or when environmental conditions make air tests unreliable.
- It is adopted when the Air Test fails
- Testing Pressure Range varries from 0.1 to 0.5 bar.
- The pipeline is filled with water and observed for drops in water level or pressure.
Step-by-Step Testing Process
1. Pre-Check and Safety
Before starting the application, follow the below tips:
- Inspect plugs and accessories for damage or leaks.
- Ensure that the pipe is clean and free from debris and sharpen objects.
- Review EN 1610 test conditions and safety requirements.
2. Plug Installation
Once completing the pre-check steps, proceed to the following instruction:
- Insert the pipe test plug or sealing plug into the pipe.
- Use a centralizer if necessary to ensure alignment, especially if the pipe diameter exceeds 1000mm.
- Inflate the plug to the instructed pressure using air or water.
- Support the plug against sliding.
3. Conduct the Tightness Test
- For air tests: Pressurize the section and start timing once the pressure stabilizes.
- For water tests: Fill the pipe to the instructed water head and measure pressure or volume changes.
4. Monitoring
- Monitor the plug pressure and pipeline conditions to ensure the 100% sealing
- Check for visible leaks if possible.
- Record test data as per EN 1610 guidelines.
5. Post-Test Procedure
- Slowly release test pressure and fully deflate the plugs.
- Remove the plugs using the chain attached to the hooks.
- Reinspect plugs for wear or damage before storage.
Safety Tips and Compliance
In order to make sure the tightness test is performed in the ideal condition, pay attention to the following points:
- Never exceed the manufacturer’s recommended inflation pressure.
- Ensure all personnel are outside the danger zone when inflating plugs.
- Use long hoses and remote monitoring where applicable.
- Follow EN 1610 and manufacturer safety manuals closely.